Pages

*

*

About Me

My photo
hi, i am jen t. welcome to my blog and ttys!

Translate

Past Dt's and Ambassadorships

*

*
Love from lizi dt

.

*

*

*
birds of a feather kit co.

*

*

*

*

Followers

Search This Blog

*

*

*

Creative Scrappers
Showing posts with label card. Show all posts

Saturday, July 21, 2018

Let the embellishments and stamps to inspire you -using the lfl july card kit

Hi all, hope your summer is going well! We have had some hot ones! But the rain has finally come to hopefully cool things off a lil bit. Fyi- i like rainy days ..they are perfect for crafting:) ok change of subject lol! Let’s talk stamps and embellishments. The july cardkit came with a seashell stamp set , puffy triangle stickers, stencil,nuvo drops,wooden pieces and sequins. 

Unfortunately this kit sold out but you can get some of the goodies there separately and of course more papercrafting supplies in lizi’s shop here

For this first card i used the whole seashell stamp on white cardstock using black india ink then i watercolor penciled them , stamped the sentiment and tied a triple ribbon. Oh to add sparkle and dimension i used distress stickles( from my stash) on the starfish and around the frame of the seashell stamp.


Closeup


This next card i made with the second generation stamping from the first card to get a lighter look
I just love this one!
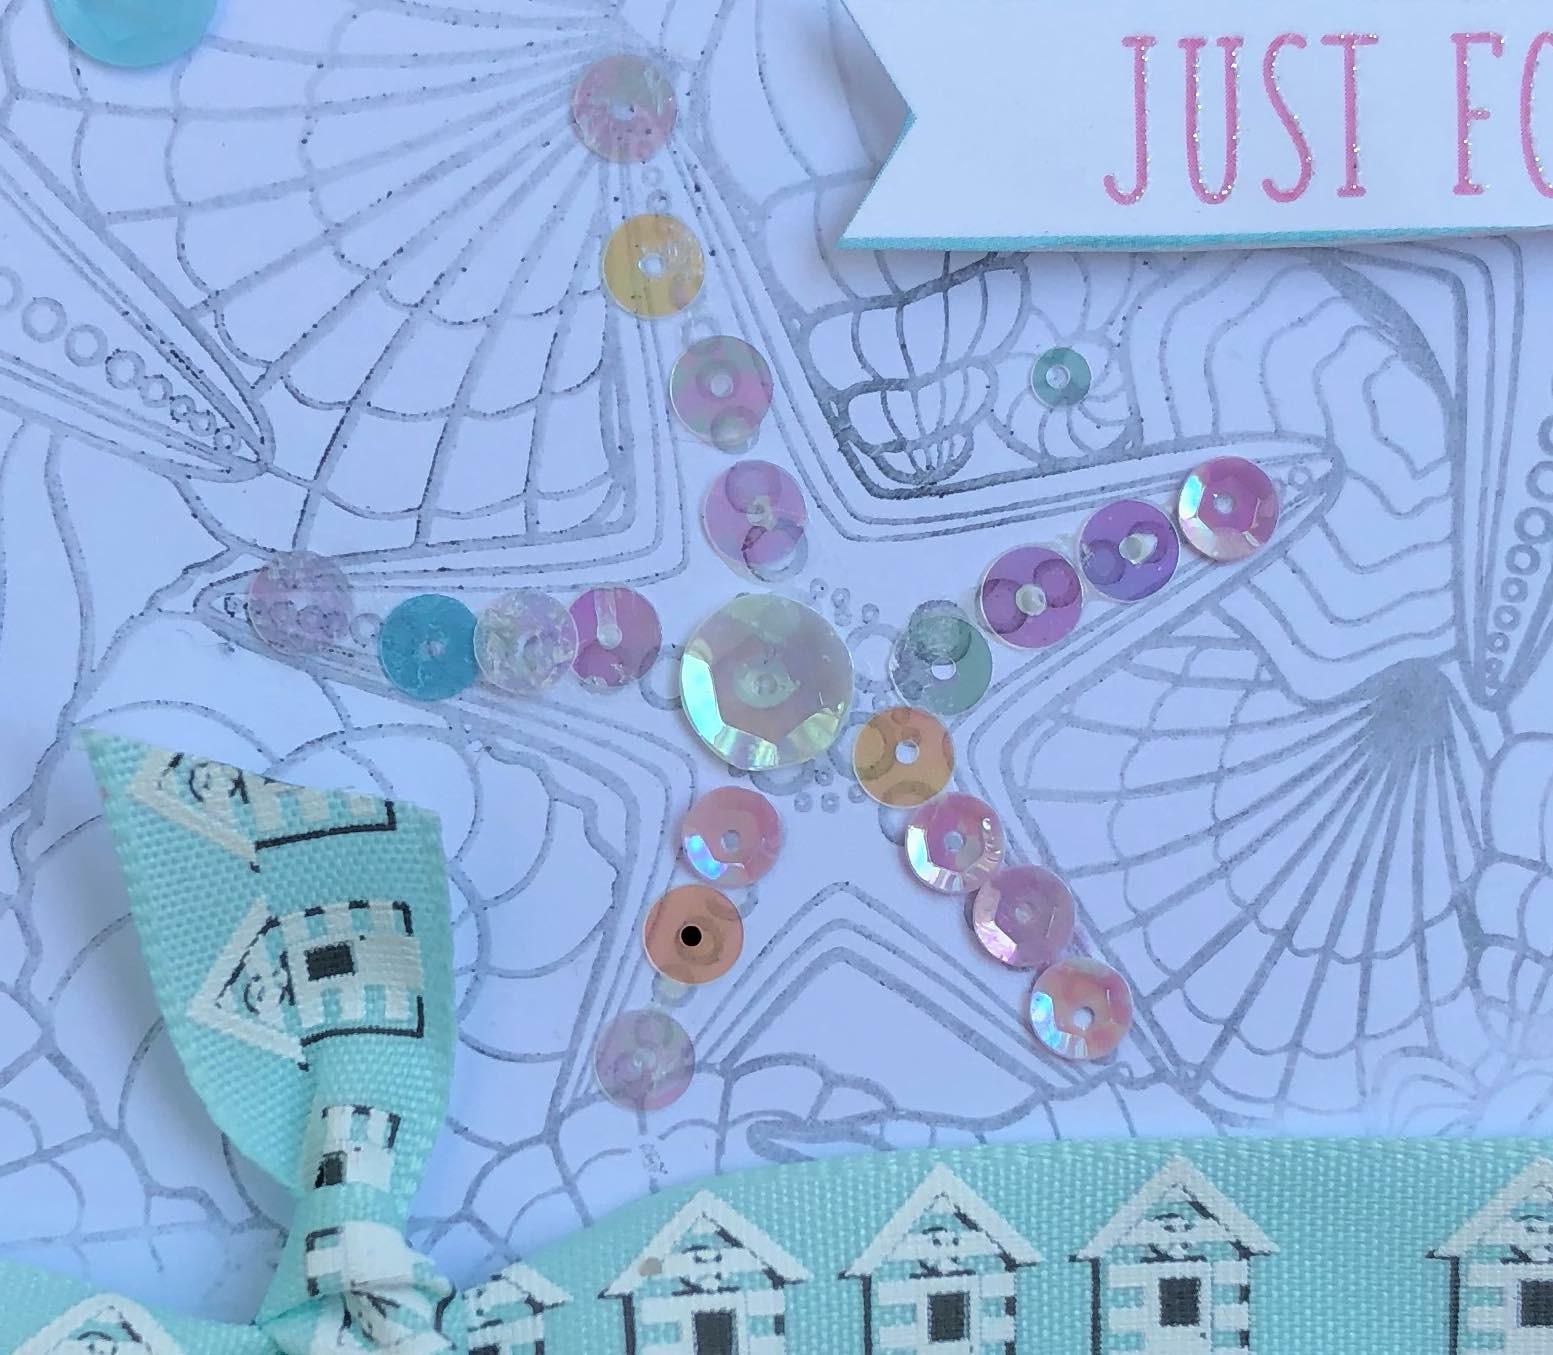
I then used the sequins to highlight the starfish and added a sentiment from the decoupage elements to the right corner. Lastly i added ribbon and added it to a blue cardbase.


Closeup


Lastly, this next card i just fell in love with the bright puffy stickers and I wanted to make a bold card with it..and yes i used everyone of them on this card. I just love the bright  colors on white! I added the hello sentiment with stickers from my stash and done. Fun and simple


So that is all for today. Stop by tomm for more kit inspiration. Thanks for stopping by and happy creating! 

jen t.

Sunday, January 21, 2018

Oriental trading - washi tape


Hi all, happy new year!

 Hope your year is off to a good start. Today i am sharing with you
5 quick and easy cards i made with washi tape from Oriental Trading. For the first card, i used the travel washi tape set and laid the strips down on a diagonal with space on the top for the sentiment. I then, cut a piece of cardstock in tan and put strips of the green washi across it . next, i diecut the word thanks and adhered it to my 6 x6 card. After that card, i got on a roll (pun intended) lol!  and used the same idea for the other 4 cards but changing the direction of the washi and then stamping with stamps from my stash in the open areas. I just love how they came out! So simple, fun and a great way to make your own pattern paper. check out the pics below.


Fyi- to check out the awesome washi tapes i used and many more go here: 


Card-stock covered in washi tape then die-cut


6 x 6 card using the washi diecut word and the travelers  washi set


Card on left using the mint green and gold washi set and right card using the all gold and white set 


6 x 6 Cards  using the travelers washi set 


Thanks for stopping by and happy creating! :)
 Jen Taylor 


Disclosure-Oriental trading has sent me products to review, but all opinions are my own-


Thursday, January 11, 2018

5x5 coffee and friends card

5x5 coffee and friends card ☕️💙- crafters mistake tip of the day- wink of stella makes rag paper buckle😔 - #card #crazycrafter #handmade #keepinitreal #coffee #cardmaking #rubberstamping #coloredpencils #sequins #winkofstella #stampingbellastamp

https://instagram.com/p/Bd0rd6iAFuI/

Jen T. 

Monday, October 30, 2017

Club scrap team challenge- cs youtube video


Hi all, welcome to the club scrap artist team YouTube channel challenge blog hop! So glad to have you here! If you are hopping along with us then you are here from Josette’s blog but if you get lost along the way or want to start at the beginning head to Karen’s club scrap blog post 
The club scrap youtube video i chose is the How to make a slider card -https://youtu.be/gcILFJLskwk
 I made the first two cards using the YouTube tutorial . These were so fun to make!


Card fronts 


Cards slid open 


*****the last two are regular cards i made using pattern paper scraps and ribbon 
All cards were made with papers and stamps from the cs Scandinavia kit with the exception of the clear stickles on my stamped sentiments and owls


To get your hands on all things club scrap go here


Next stop is 
Hetty’s blog 

Thanks for stopping by and happy creating! 
Jen T


Thursday, June 15, 2017

Cws fruit challenge #15 mid-month inspiration


Hi all, today i am sharing with you a second card i made for the creative with stamps fruit challenge. I used the heck out of my lil cherry stamp and made a background for this card as well . I colored it in with my prima oil pastels and added shimmer glitter to add sparkle . Lastly, i added a fun sentiment and popped it up with foam tape for interest and inked the edges with black ink.


Join the challenge here 
This months sponsor 

thanks for stopping by and happy creating!
Jen t.  :)


Thursday, June 1, 2017

Cws June fruit challenge #15


Hi all, today i am sharing with you a card i made for the creative with stamps june challenge. The challenge this month is fruit. I have a ton of stamps and thought this would be easy to find in my stash but apparently I don't have as many fruit stamps as I thought. I did however find one cherry stamp in a raisin boat birthday cupcake stamp set i had and ran with it. I stamped the cherry randomly  on a big piece of cardstock to make a background with it to make two cards( you will have to wait til the middle of the month to see the other card ;)) i then used my red prima oil pastel and a waterbrush to color them in. I added some shimmer glue to the cherries along with a thinking of you stamp  popped with foam tape . Lastly, i added ribbon and sequins to finish it . To join the challenge go here 
 ---Pink polkadot paper,sentiment stamp, ribbon and sequins are from inspired by stamping--


This months sponsor
Thanks for stopping by and happy creating!
Jen t. :) 


Monday, May 15, 2017

Creative with stamps mid-month flower challenge inspiration

Hi all, today i am stopping by to share a second card i made for the creative with stamps challenge.
I just love using flowers on my cards. The card today i made is 6x6. I used cardstock and stamps from my past club scrap kit. The cherry blossom papers and stamps are so pretty! To join the challenge see link below. Thanks for stopping by and happy creating! :) jen t.


To join the creative with stamps challenge go  here

,
      

Prize-3 digi images - Challenge is sponsored by:

https://www.etsy.com/shop/patties-creation


Monday, May 1, 2017

Creative With Stamps may challenge


Hi all, today i am popping on to share with you a card i made for the creative with stamps challenge blog. This months challenge is flowers. For my card i am using a awesome digital stamp from pattie's  creations called  thinking of you .  
First, i started with a  black A2 card base and i put my digital stamp on a 4x6 format and printed it out. Then i colored the image with my spectrum nior's and added a lil shimmer pen to my image and adhered it to the cardbase.  Lastly, i punched butterflies from patterned paper and added some bling to finish them.Thanks for stopping by and happy creating! 
 To join the creative with stamps challenge go here


Prize-3 digi images - Challenge is sponsored by:

https://www.etsy.com/shop/pattiescreations


a2  thinking of you card
.


jennifer taylor:)

Wednesday, September 24, 2014

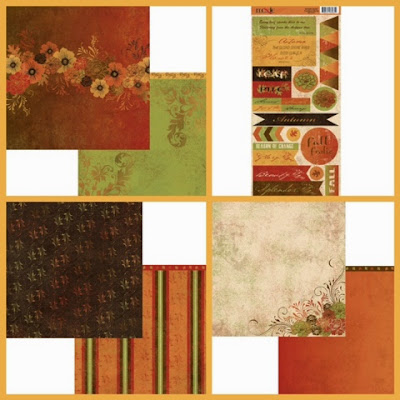
Autumn is a second spring card and tag using Moxxie autumn glory collection

 Hi all, happy fall!  I am ready for falling leaves and  crisp air..are you? I am here today to share a fall card and tag that i made using the autumn glory collection. This collection is gorgeous! I just loved working with the beautiful rich colors and design! This week i bought some new punches and i started with a strip of the burnt orange paper but i made a mistake with the punch... I love the challenge of fixing mistakes (as silly as that sounds) because i challenge myself to make it into something pretty. So, i took some stickers off the sticker sheet and layered them with a punched circle and added over my mistake with a gem brad and layered some barcode patterened strips, twine, and the fab autumn saying sticker. Lastly, i distressed all the edges to give some texture to the card. For the tag i added  layered up some stickers and tucked punched swirls underneath with a gem brad in the center and topped it off with some cool twine.  My no measuring tag tip: cut a strip the whole length of the paper (this paper was 12 x12) and any width you like. Fold it in half add glue to inside. The just cut the top two corners on an angle. Then embellish. Thanks for stopping by and happy creating!!   Jen T.  :)  


Moxxieness i used: 
AG-1454  Fanciful Flowers 
AG-1455  Season's Beauty
AG-1457  Bountiful Bouquet 
 

http://www.gotmoxxie.com/site/index.php?cPath=247_249


From my stash: 
twine 
gem brads
Border punch 
Swirl punch