Pages

*

*

About Me

My photo
hi, i am jen t. welcome to my blog and ttys!

Translate

Past Dt's and Ambassadorships

*

*
Love from lizi dt

.

*

*

*
birds of a feather kit co.

*

*

*

*

Followers

Search This Blog

*

*

*

Creative Scrappers
Showing posts with label 2018. Show all posts

Monday, September 17, 2018

Stamping and spiderwebs oh my! Lfl cards

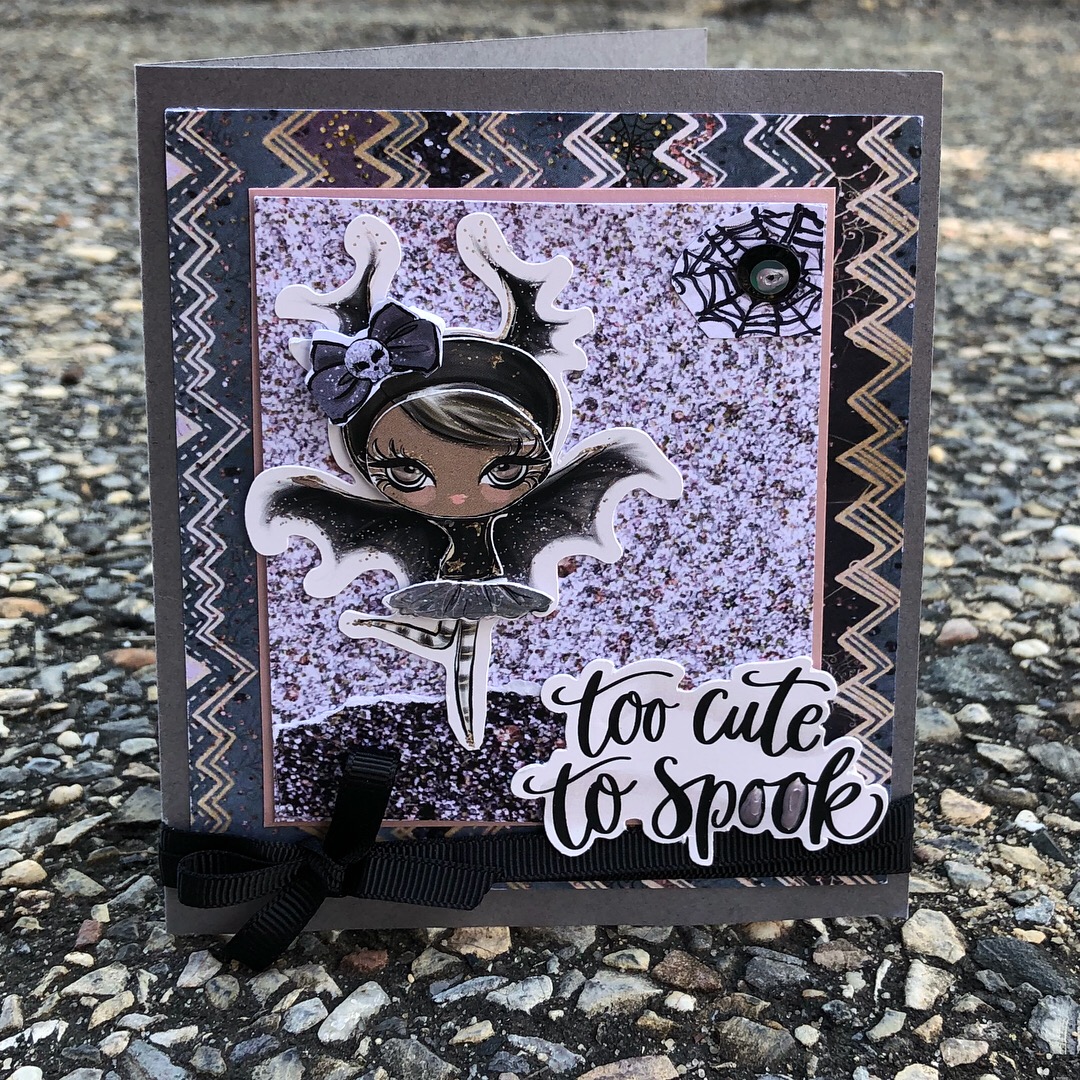
Hi all, today i am sharing with the the rest of the cards i made with the love from lizi super September kit. I played with brusho ( in the kit too) for the first time and made some of these cool spiderweb backgrounds with the stencil,brusho and water. Then i stamped my sentiments and spooky girls and colored penciled them. Lastly, i fussy cut them all out and layered all the goodies onto the cards. Check out my cards here below: 


Witch ya think?! ;) 
Pretty cool huh! 

To get these goodies and more go to the love from lizi shop here 
Thanks for stopping by and happy creating! 
Jennifer Taylor 

Delicious devine devilish diecuts on my lfl cards

Hi all,  i am stopping by to share some fun and quick cards i made with the beautiful diecuts (and other goodies) from the love from lizi super September cardkit.


Everything i used on these cards is from the September kit- featured on these 4 cards is the diecut spooky girls and sentiments layered onto exclusive lfl papers , ribbons,and sequins. Then i added touches of nuvo drops to add more dimension to the cards. I even used the shimmery peeloffs to edge the cards. Thanks for stopping by and looking! Happy creating! To get your hand on all these goodies and more go here 

Jennifer Taylor:)


jen t.

Tuesday, August 14, 2018

Stencil + texture paste = fun lfl cards

hi all, today i am stopping by to share some fun cards i made using the love from lizi august cardkit stencil
I just got texture paste happy with my spatula and stencils. I used two white cardstock bases to create backgrounds for two different cards. See pics below

,


Love how i got two different looks with the same stencil! 

To get goodies from this kit and all things love from lizi go to : 


jen t.

Quick pattern paper card base using the aug lfl cardkit

Hi all, hope your summer is going well. I don’t know about you but i am over it. Lol! I am ready for cooler weather and more crafting;).
On that note, let me show you a cool ;) and easy way to make a pattern paper card base. No measuring. Just fold. Depending on the direction you want your card to open just fold in half lengthwise then take that fold and fold it again horizontally. Use your fingernail or a bone folder to make the folds flat. Then go back and glue inside the flaps. See pics below
,


,


For this card i used my pattern paper cardbase addind a mat of white cardstock. then added 
A diecut pocket from the cutaparts then i added a diecut tag inside and diecut sentiment. Popdotted the round diecut . Then i used the exclusive kit die to cut the present and bow to put it on top. Lastly i used the peeloffs to edge the white mat.  
This card was so fun to make!


To get goodies from this kit and all things love from lizi go to
http://shareasale.com/r.cfm?b=1122545&u=909173&m=76572&urllink=&afftrack


Thanks for stopping by and happy creating!

jen t.

Sunday, July 22, 2018

Layer it on - using the lfl july card kit


Hi all, hello again:) today it’s about layering. The decoupage sheets that came in this kit make it so easy to make quick dimensional cards. Did I mention i love this kit?!  Luckily, the kit comes with foam squares too. And let me tell ya i used almost all of them!


Unfortunately this kit sold out but you can get some of the goodies there separately and of course more papercrafting supplies in lizi’s shop Here


So here are closeups of the dimension on the cards just by layering the decoupage pieces. Check-it out below: 


 Which one is your favorite? Comment below and let me know. 
Thanks for stopping by and happy creating! 
Jen t. 

Saturday, July 21, 2018

Let the embellishments and stamps to inspire you -using the lfl july card kit

Hi all, hope your summer is going well! We have had some hot ones! But the rain has finally come to hopefully cool things off a lil bit. Fyi- i like rainy days ..they are perfect for crafting:) ok change of subject lol! Let’s talk stamps and embellishments. The july cardkit came with a seashell stamp set , puffy triangle stickers, stencil,nuvo drops,wooden pieces and sequins. 

Unfortunately this kit sold out but you can get some of the goodies there separately and of course more papercrafting supplies in lizi’s shop here

For this first card i used the whole seashell stamp on white cardstock using black india ink then i watercolor penciled them , stamped the sentiment and tied a triple ribbon. Oh to add sparkle and dimension i used distress stickles( from my stash) on the starfish and around the frame of the seashell stamp.


Closeup


This next card i made with the second generation stamping from the first card to get a lighter look
I just love this one!
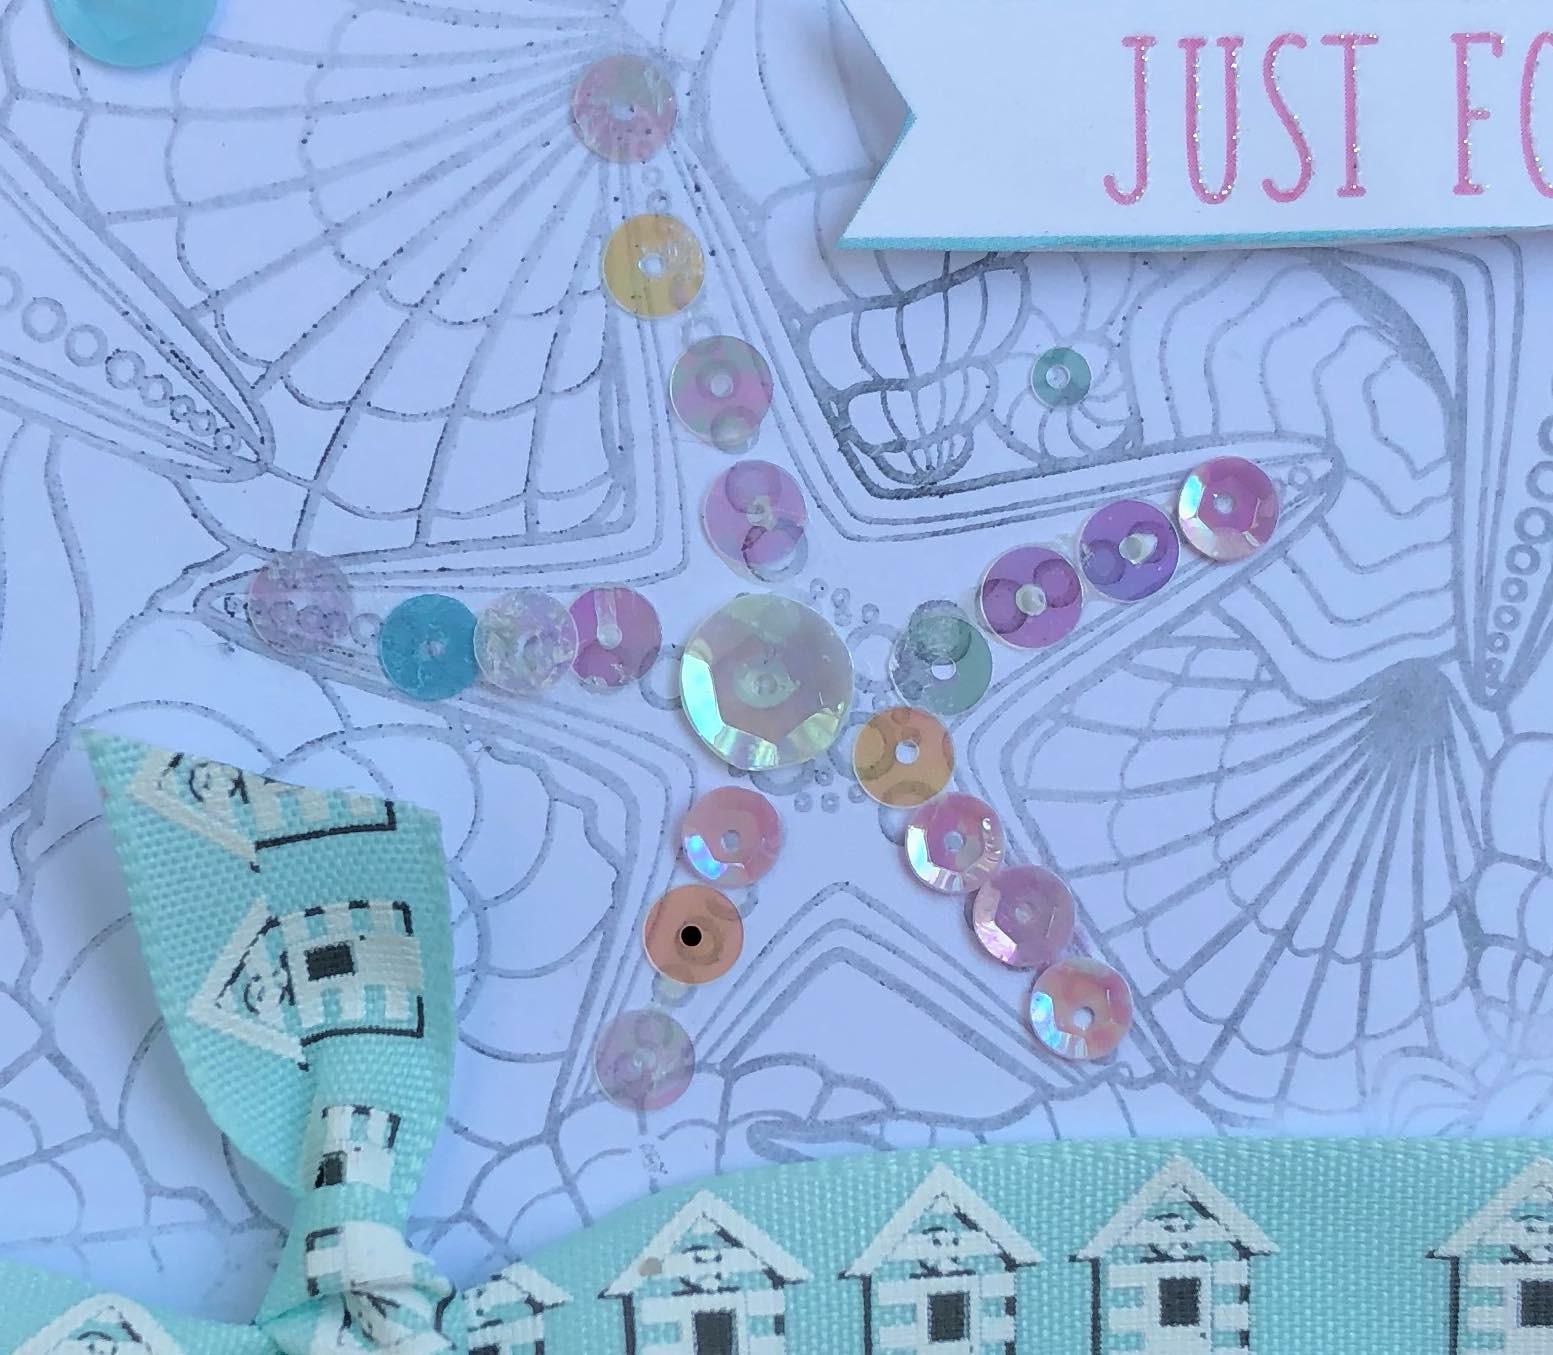
I then used the sequins to highlight the starfish and added a sentiment from the decoupage elements to the right corner. Lastly i added ribbon and added it to a blue cardbase.


Closeup


Lastly, this next card i just fell in love with the bright puffy stickers and I wanted to make a bold card with it..and yes i used everyone of them on this card. I just love the bright  colors on white! I added the hello sentiment with stickers from my stash and done. Fun and simple


So that is all for today. Stop by tomm for more kit inspiration. Thanks for stopping by and happy creating! 

jen t.

Saturday, June 30, 2018
Let’s face it these stamps rock!

Hi all,  i am stopping by today to share the fun stamp set that is exclusive to the june love from lizi card kit. To get all things love from lizi go here.  I have to admit i am still in love with this face stamp set! It is so fun and versatile...i even heard lizi say on her video that she maybe adding on accessory stamps to this set ( yay) . For this card i used my tim holtz stamping platform to ink and layer each stamp to create the face onto white cardstock from the kit.  Then, i used my spectrum nior markers to color in the image . Lastly i fussycut out the card to adhere to my card. Here is a pic of the stamp set and the completed card. 


I stamped the girl body with the bun hair,eyeglasses,tshirt neckline then colored her in


I cleaned her up with more marker and blender pen the brighten her up. after i took that first pic i added pupils as well as a hair bow with ribbon from the june card kit

The finished card below

I had a blast creating with this kit! 


 Supplies used: 

Versa magic ink
Spectrum nior markers
Love from lizi june cardkit - pattern papers,nuvo, stamp set,ribbon,cardstock
Clear stickles

Thanks for stopping by and happy creating! 


Jennifer Taylor:) 


Tuesday, May 22, 2018

A lil embossing magic Using the lfl may card kit


Hi all, thanks for stopping by! So glad you are here! Today we are talking embossing. I have to admit it has been a long time since i embossed. I called on my lfl friends to refresh my memory of the tools i needed to heat emboss. Tools you need is a heat gun, sticky ink i used versa mark, a stamp and embossing powder( hint-the last two come in the may cardkit ;) )....so i got right to work i stamp and embossed a bunch of flowers and leaves. To save myself time and not to have to color some in i stamped and embossed on patterned paper to give my images color and depth. Check out some pics here:


After i embossed them i fussycut them all out and set them aside to be ready to decorate my cards with another day. 

I forgot how magical heat embossing is. Make sure to give it a try if you haven’t already. 

Here are some other cards i made with my heat embossed flowers and leaves


Let me know below if you have tried heat embossing. 
To get all things love from lizi go here : 
Or click on love from lizi on my blog sidebar 

Thanks for stopping by and happy creating! 

Jennifer Taylor:)

Monday, May 21, 2018

A lil of my lfl kit process and some stenciling

Hi all, thanks for being here. Today, i
 am stopping by to share with you some of the process i use when creating with my love from lizi kits then we can talk stencils.  Since i am a momma of three and a multitasker i find that working with a kit is so fun! So to maximize my time and creative energy i work on my cards in stages. First after i ooh and ahh over all the pretties in the box i separate it all out. Next i will take all the solid cardstock in the kit and make my card bases. Then, i will take the stamps i want to use and stamp them all out and do any embossing at this point too. Next i look at all the pretty pattern papers and do all my fussy cutting .(these steps are usually done over a few days time doing one task a day) i lastly add all my goodies to a organizer tray so that i can make and assemble cards.  Moving on, i would love to share what i made with the kit stencil.after i stamped and embossed my flowers, I just took
 a red and pink oxide and smudged it through the stencil then added water to blend the colors what was left was a beautiful coral flower. 


Then I took my ink that was left on the stencil and smooshed it onto pieces of white card stock to use as my background for future cards.
Here are the ones i made with the ink smooshed from the stencil onto the white cardstock :


The smooshing was so fun and it inspired those pretty cards. 

The card that i made with my stencil flowers came out so fun too . Check them out here: 


 ok this one i used both the stenciled flower and the smooshed background to pop off the gold punchanella
  
I had a blast playing with this kit!  Share with me your favorite method to tackle the kit below. Thanks for stopping by and happy creating! 
See ya here again tomorrow for another post.

 Jennifer Taylor